
What can you do in Navigate?

Schedule appointments with your advisor, make tutoring appointments, or meet with various student support services across campus.

Struggling with academics, food and housing, or stress? Use the Navigate app to quickly ask for help.

Creating study groups doesn't have to be hard! Use Study Buddies to communicate with other interested students in your courses.


How to Schedule Appointments within the Student App
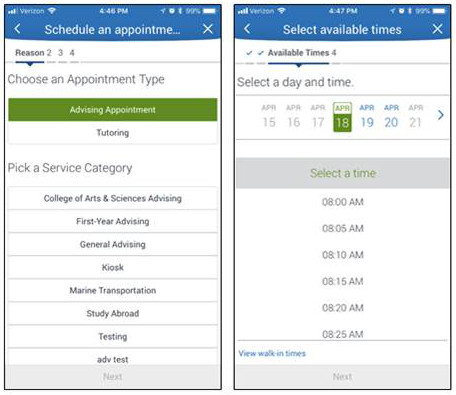
After clicking "Appointments" in the left column, the "Schedule an Appointment" button appears and then the step-by-step instructions as seen below will walk you through the steps. Note: "Service Categories" are not used, so you do not have to make that selection when scheduling appointments.
To schedule a new appointment, the student clicks 'Schedule an Appointment' and are prompted to make choices for the type of support they are looking for. They will click through and make the following choices:
- Select a Care Unit
- Select a Service Category
- Select a Service
- Select a Location
- Select a specific staff member or 'Any Staff member'
- Choose a date and time from a list of availability. From this screen, students will also have the option to view drop-in times or send appointment requests.
Please note that the Care Units, Service Categories, Services and Locations that display are all dependent on the configuration of the Navigate Staff platform and on staff members having active availability for the selected services.
After making all their selections, the student will see a confirmation page with the details of their appointment. They have the option to use the 'Comments' box to leave a note for the staff member about what they are hoping to discuss in the appointment. The student will also have two options for receiving a reminder about the appointment; they can opt in or out of receiving an email and/or text message about the appointment. Lastly, the student clicks 'Confirm Appointment.'
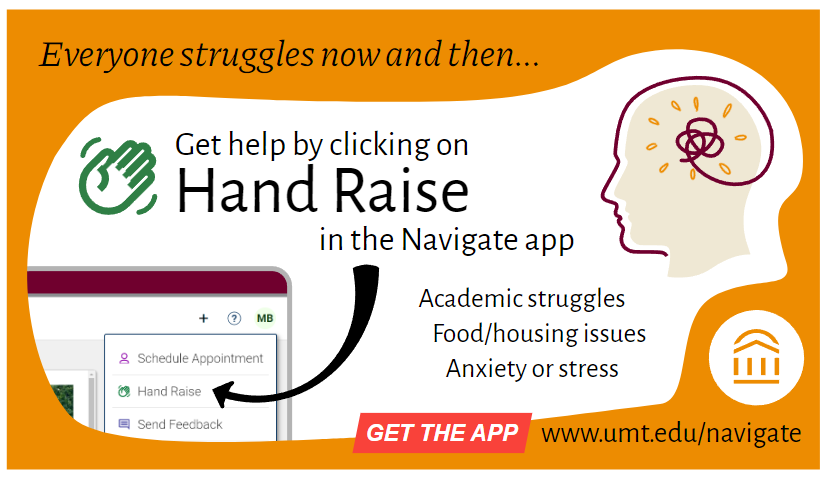
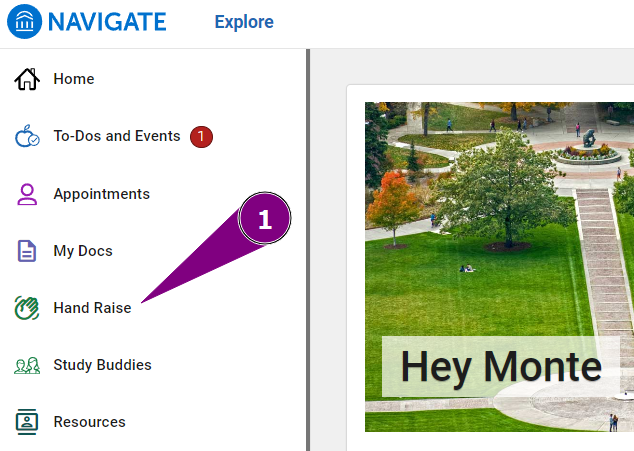
Ask for Help with Hand Raise
We hope that the semester goes smoothly for you, but if you hit a rough patch then don’t hesitate to tap on “Hand Raise” in the Navigate app.
This is a new method to get help from several student support programs across campus.
You just choose from three options:
- I am anxious or stressed or lacking sleep.
- I am struggling with getting food or housing.
- I need help with my studies.
Your request for assistance will be sent to the appropriate program or to your advisor. You will get an email with links to make an appointment plus staff will reach out to you during business hours to see how they can help.
Join Study Buddies
Study Buddies allows students in the same course to let each other know that they are interested in creating a study group. Students in the same Study Buddy group can see each other’s emails in order to communicate about where and when to meet. We had over 500 students join at least one Study Buddy group in Fall 2023!
How to join a group:
- Select the Study Buddies menu item in the Navigate app.
- Tap “Join” for the course you are interested in.
- Confirm that you are ok with sharing your email with others in the same group. Once others are in the same group as you, you can email the entire group from within the app. You can leave the group at any time if you no longer are interested.
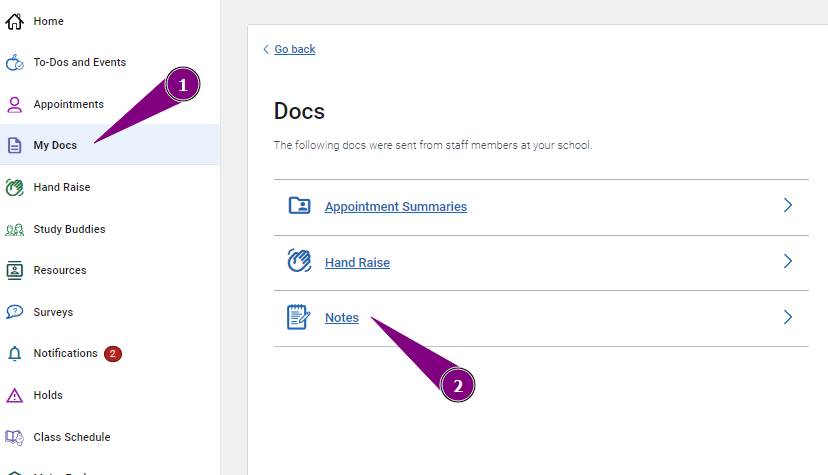
View Notes in "My Docs"
You can now view Appointment Summaries and Notes shared with you from your advisor. You can also view all the Hand Raises you've submitted recently. Items in the My Docs area are visible for 180 days.
About journeys (new for fall 2025)
Journeys are step-by-step to-do lists designed to help you get things done.
Your advisor might share some journeys to guide you through tasks like registration or dropping a class. Other journeys may come from campus programs, like career or leadership opportunities you are already involved in. In the future, you will be able to select other journeys to help you stay on track for the things you want to accomplish here at UM.
Getting to the journeys menu
You can find journeys on your Navigate mobile app in the menu or in the browser-based desktop version.
Viewing a journey
Your list of journeys will display the name of the journey, the status, and the progress.

Below the journey description will be a list of Steps in this Journey which will show due dates if available and completion status.

Completing a step
Opening a journey will provide more details which may include links to information and forms, options to make an appointment, and contact details. Not all of these details will be included in every journey step.
At the end of every step, there is a completion details where you can choose a completion reason and add a comment. Comments are viewable by advisors and some program staff in order to provide context if they review your journey, but you can also use the space to make a note to yourself. If you must contact your advisor or other staff member, please make an appointment or email them.

Text messaging
You may receive text messages through the Navigate platform from 1(406) 258-7467. We suggest you do not block this number so that you are able to receive any urgent messages sent by your advisor when email communication goes unanswered.