WYSIWYG Editor

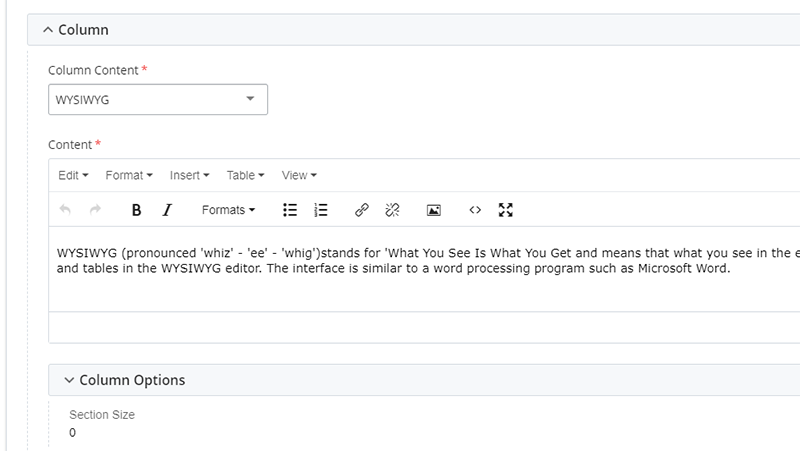
WYSIWYG (pronounced 'whiz' - 'ee' - 'whig') stands for 'What You See Is What You Get' and means that what you see in the editing window will be (mostly) what you will see on the published site. You can add and edit things like text, images and tables in the WYSIWYG editor. The interface is similar to a word processing program such as Microsoft Word.

Video: Video Tutorial

Accessing the Editor

The WYSIWYG editor can be accessed in any column where the Column Content field is set to WYSIWYG.

Screen capture of WYSIWYG editor

Menu Options in the Editor

Edit

  • Undo
  • Redo
  • Paste as text

Undo will reverse the last operation. Redo will reverse an undo operation.

Paste as text scrubs out all text formatting that is pasted into the editor. For example, if you select 'Paste as text' and copy and paste text from a word document that has been bolded and italicized, the pasted text will not be bolded or italicized.


Format

  • Bold 
  • Italic
  • Formats
    • Headings
    • Blocks
      • Blockquote
      • Paragraph
    • Custom
      • Left align image
      • Right align image

Select text and select Edit > Bold/Italic to bold or italicize text.

To turn text into a heading, select the text and then select Formats > Headings and choose a heading level from the dropdown.

To set text as a blockquote or a paragraph, select the text and select Format > Blocks > Blockquote/Paragraph.

To align an image to the left or right, select the image by clicking on it. Then select Formats > Custom > Left align image/Right align image.


Insert

  • Link
  • Image
  • Horizontal line

To make text a link to another web page, highlight the text and select Insert > Link. Choose whether you want to link to an internal page (a page on a site you manage) or an external page. If you want to link to an internal page, navigate to the page in Cascade by clicking in the Link Source field. If you are linking to an external page, paste the URL of that page into the Link Source field. In the Target filed, select either None, which will open the link in the user's current window, or New window, which will open the link in a New window.

See the Image page for detailed instructions on working with images in Cascade.

To insert a horizontal line that spans the width of the column, select Insert > Horizontal Line.


Table

The Table menu contains:

  • Table
  • Table properties
  • Delete Table
  • Cell
  • Row
  • Column

For detailed instructions on creating and editing tables in Cascade, please see the tables page.


View

The View menu contains:

  • Visual aids
  • Show blocks

These options help visualize table borders and content blocks for headings and paragraphs.

When you select View > Visual aids, borders appear around table elements.

When you select View > Show Blocks, borders display around text blocks.