
Creating and Properly Formatting Tables
Best Practices
Note that tables should only be used for "tabular data" and not for layout. Tables require proper table headings in order to meet web accessibility standards.
Create and Insert a Table
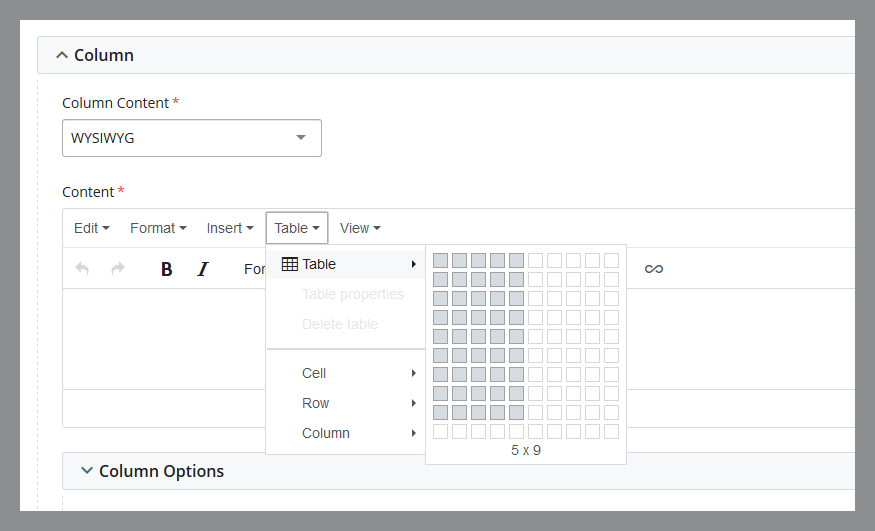
- Click on the Table dropdown menu.
- Hover over the Table option until a grid appears.
- Select the appropriate number of cells for the row by hovering right and then down.
- Click to finalize the selection of cells.
- Fill out the table as needed.
- Define table headings
- Save & Preview or Submit changes
Define Table headers
All table headings for rows and columns must be defined in Cell Properties. To define table headings:
- Select the header text or containing cell.
- Right click on the selected text or cell.
- Choose Cell > Cell properties.
- Select Header cell in the "Cell type" field.
- Select either row or column in the "Scope" field.
- Click Ok.
Adding Table Captions
All tables should include a caption:
- Select Table > Table Properties.
- Check the Caption checkbox.
- A space for the caption will appear at the top of the table.
Table Formatting

When a table is selected, multiple format options appear below the table. These options can also be accessed from the Table dropdown menu. Table options include:
- Table Properties: Don't change any of the properties in this tab except for the caption checkbox. They will either not work or look terrible!
- Delete Table: Deletes the entire table.
- Insert Row Before: Inserts a row above the selected cell.
- Insert Row After: Inserts a row below the selected cell.
- Delete Row: Deletes the selected row.
- Insert Column Before: Inserts a column to the left of the selected cell.
- Insert Column After: Inserts a column to the right of the selected cell.
- Delete Column: Deletes the selected column.
Tables will always be displayed at 100% width of the containing row or column.
Table Properties
General Properties
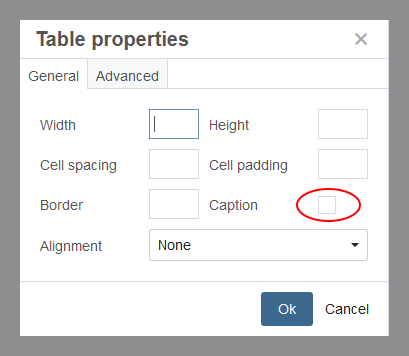
General properties tab can be accessed from the Table Properties menu. Don't change any of the properties in this tab except for the caption checkbox. These properties have been disabled and will not display in your table.
If you want to add a caption to your table, select the caption checkbox. A blank cell will appear at the top of your table. Type in the caption in that blank cell. The caption will then appear below your table.
Advanced Properties
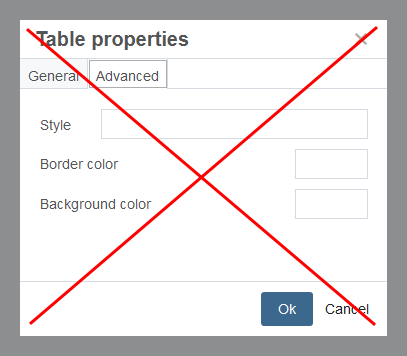
These properties have been disabled. Don't try to change any of the properties in this tab as they will not display in your table.