Carousel
The Carousel Block creates a slideshow that automatically cycles through a selected set of images.
Please note that slideshows work best with quality images of the same dimensions. The dimensions of the first image will dictate the dimensions of the entire slideshow.
Video: Carousel Tutorial
Create a Carousel Block
- Create the Block.
- Click Add Content in the Top Menu Bar.
- Select Blocks > Row Blocks > Carousel.
- Heading - this will display above the Carousel.
- Heading Level - select the desired heading level in dropdown menu.
- Content - this is descriptive text that will display below the Carousel.
- Item.
- Type - Select Image, YouTube or Vimeo.
- Image - If you selected Image for Type, click in this field then navigate to and select the desired image. You can upload any size image and Cascade will automatically size the image for you.
- Image Scale Focus - If your image needs to be cropped, you can tell Cascade where to start the crop.
- In the Image Alt field, enter a description of the image (Alt Text). Please note this is a legal accessibility requirement.
- YouTube or Vimeo - If you selected a video type in the Type field, enter the URL of the video into the Video ID field, an image that will be displayed in the Carousel in the Image field and a description of the image in the Image Alt field.
- Type - Select Image, YouTube or Vimeo.
- Submit.
- When you have added all the content, click the blue Preview Draft button in the top right of the editing window.
- Then click the blue Submit button in the top right of the editing window.
- Attach the block to your page.
- Select or create the Row you want to attach the Block to.
- Set the Row Content Type to Row Block.
- Click the Choose Block button in the Block field and navigate to and select the Block you just created.
- Click the blue Choose button in the top right.
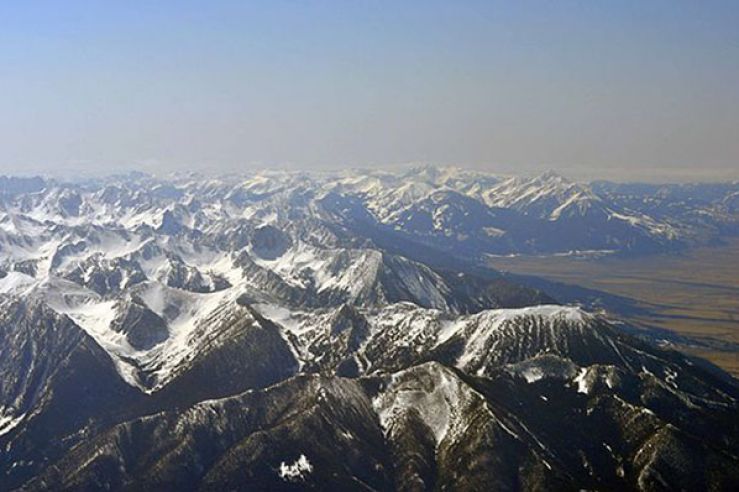
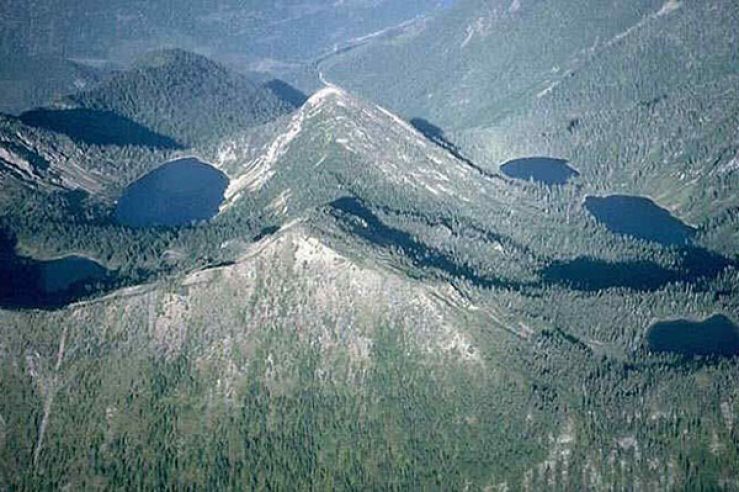
Montana images and videos